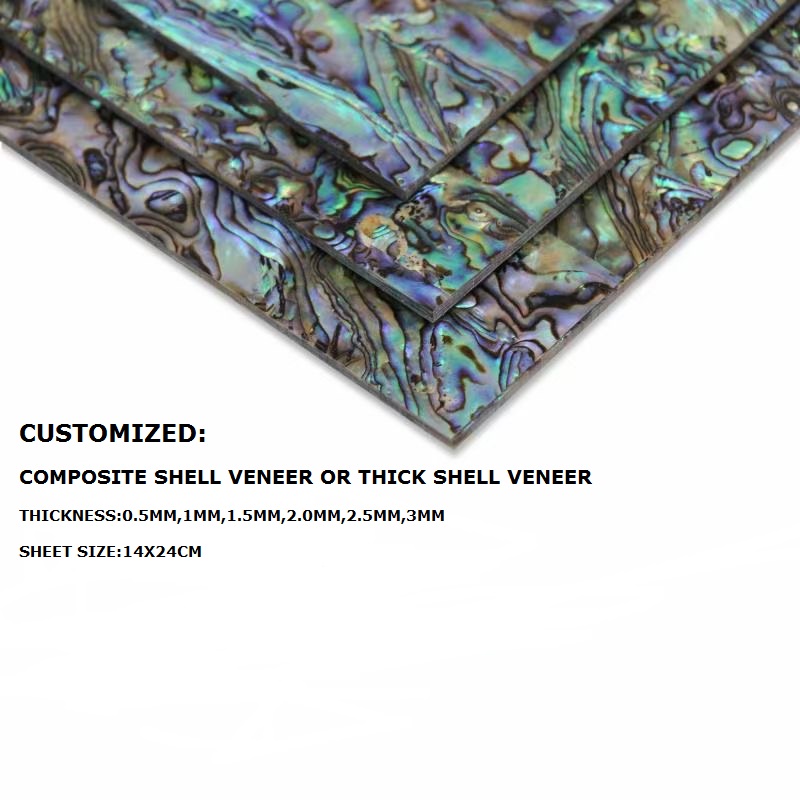
How to Cut Mother of Pearl Veneer?
Cutting mother of pearl veneer requires precision craftsmanship. The wrong approach may damage this delicate material and ruin your project.
Three professional methods exist for cutting mother of pearl veneer: manual tools for simple shapes, power saws for medium complexity, and laser cutting for intricate designs. The optimal method depends on your pattern's complexity.
Understanding these cutting methods is just the beginning. Let's examine each technique in detail to help you achieve perfect results with your mother of pearl projects.
How to Choose the Cutting Ways?
Selecting the wrong cutting method can waste expensive material. Make the right choice with these professional guidelines.
Choose manual cutting (knife/scissors) for simple shapes, power saws for moderate designs, and laser cutting for complex patterns or logos. The complexity of your design determines the ideal method.
Mother of pearl veneer demands different approaches based on your design requirements:
Cutting Method Comparison
| Method | Tools Required | Best For | Limitations |
|---|---|---|---|
| Manual Cutting | Craft knife/sharp scissors | Straight lines/simple shapes | Limited to thickness <0.5mm |
| Power Tools | Router/diamond blade/veneer saw | Medium complexity curves | Requires skilled handling |
| Laser Cutting | CO₂ laser system | Intricate designs/logos | Higher equipment cost |
Professional Recommendations:
- For basic geometric shapes: Use stainless steel craft knives with frequent blade changes
- For organic curves: Employ high-speed (18,000+ RPM) laminate trimmers with carbide bits
- For production work: Invest in laser systems for repeatable precision
How to Suggest Power and Speed for Laser Etching or Engraving Into Mother of Pearl Veneers?
Incorrect laser settings can burn through delicate nacre layers. Achieve perfect etching with these tested parameters.
For laser engraving mother of pearl veneer, use 10% power at speed 12 with 1000PPI (1000 Pulses Per Inch). This creates crisp marks without compromising material integrity.
Laser engraving requires precise calibration to preserve the veneer's natural iridescence:
Laser Engraving Parameters
| Veneer Thickness | Power Setting | Speed | PPI | Expected Result |
|---|---|---|---|---|
| 0.3mm (raw) | 10% | 12 | 1000 | Fine detailed etching |
| 0.5mm (backed) | 15% | 10 | 1000 | Medium-depth engraving |
Key Considerations:
- Always conduct test runs on scrap material
- Adjust focus length for your specific laser model
- Ensure proper ventilation to remove shell particles
- Use air assist to prevent burn marks
What Power and Speed Should You Use for Laser Cutting Mother of Pearl Veneers?
Laser cutting mother of pearl requires exact power calibration. These professional settings guarantee clean cuts every time.
For 0.3mm raw veneer, use 45% power at speed 12 (1000PPI). Backed veneer requires 90% power due to adhesive layers. Always use 60W minimum laser systems for optimal results.
Achieving clean laser cuts depends on proper machine calibration:
Laser Cutting Parameters Guide
| Material Type | Thickness | Power Setting | Speed | Notes |
|---|---|---|---|---|
| Raw Veneer | 0.3mm | 45% | 12 | Multiple passes may be needed |
| Peel-and-Stick Backed | 0.3mm | 90% | 12 | Higher power for adhesive layer |
| Marine-Grade | 0.5mm+ | 60% | 8 | Thicker material requires slower speed |
Pro Tips:
- Use vector cutting mode for clean edges
- Maintain 3-5mm focal distance
- Clean lens frequently during production runs
- Implement air assist at 15-20 PSI
- Consider water-cooled systems for extended use
Conclusion
Master these three cutting methods and laser settings to professionally work with mother of pearl veneer for flawless decorative and architectural applications.


